This week, I tried to build a draft model of the selected interior environment.
As I have mentioned in the last week that I decided to create a myterious corridor, I firstly built a very rough model in Maya and tried to apply different materials.
I sketched the floor plan for my final design. Then I tried to follow this floor plan with the photos I took before to build the 3D model.

Skipping the building process which would only show purely polygon planes, I would show my process starting with applying different shaders to the materials.
Here, I tried to apply different bump mapping to the wall. I see that the 'fractal' mapping suits the texture of the wall the most. These are some data in final setting the values of the bump mapping.


Below shows the process in adjusting the texture of the wall:

At first there was no texture.

Then I applied 'fractal' to the wall.

I tried to adjust the 2D placement values and also the bump mapping values of the shader.

This one looks good. But the amplitude and the frequency of 'fractal' would be a bit heavy in this scale.
(The grey plane in front of the wall is one of the doors. I don't know why it looks like a blind. But I will try to fix it later. )


After I adjusted the values, I looks better!
When I extruded some faces of the wall, I have to adjust the UV mapping since the texture of one side of the wall would have problems like what you can see below.

So I created a planar map to that side of the wall, and then adjust the position of it in the UV editor.
The problem was solved after the adjustment.


The upper one looks better. So I chose that one.

Here, I tried to divide the wall into several divisions as there should be a tunnel which connects to the outside. I created a plane to help dividing the wall in a particular size.

I tried to create a bridge for the tunnel. But there were some difficulties in calculating the divisions.
So I pick another method which would be better for work.

I undo the action of deleting the faces and try to extrude from them directly.

It worked.

Here shows the way I adjusted the divisions.


And then create another tunnel on the other side of the corridor.


The overall model was almost done. I decided to test on the materials and the lighting then.
Here I created a floor with gridded tiles, which roughly matches the real occasion.


After applying the textures, I decided to test on the lightings of the environment.

There was only a directional light at the beginning.

Here I added a ambient light.


Then I adjusted different intensity of the light. I found that the one using 0.5 is the best.
Then I tried to adjust the colour of the light.


This one would be suitable I think.
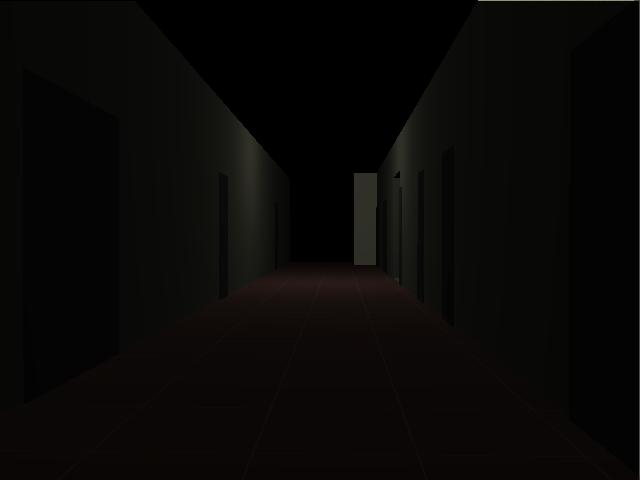
Then I duplicated the ambient light and move it to another position. The overall image of the interior environment is then set.


沒有留言:
張貼留言